Chili Cultivation Diary 2014

Chili Cultivation Diary 2014
Accompany a variety of mild chilies from the seed to the harvest
After having cultivated the extremely spicy Trinidad Scorpion Butch T in 2013, this season we will cultivate a range of very mild chilies. The very mild chilies usually lead a very shadowy existence in the minds of chili fans. However, going purely on taste and usage possibilities, these varieties are actually very diverse and interesting.
This year the cultivation will not take place in pots, instead it will occur outdoors. If you follow the basics, this can become a fantastic hobby for you. Chili cultivation is great fun, and is suitable for both young and old.
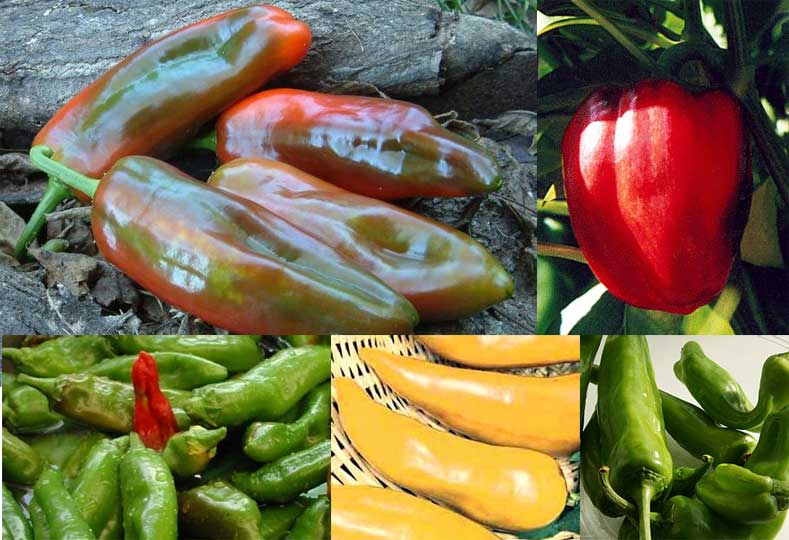
The following varieties will be planted:
- Friggitello Chili
- Corno di Toro Rosso Chili
- Corno di Toro Giallo Chili
- Anaheim Chili
- Californian Wonder Chili
Info: The first images and descriptions are identical to 2013, as the first steps are always the same. As soon as the seedling appears, we will report on the individual varieties with images and text.
Day 1: 14. January 2014
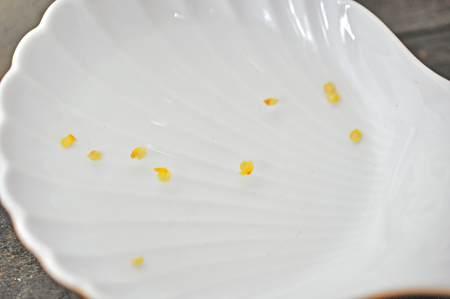
Soak the seeds in water overnight. This enables the seedling to break through the seed shell more easily.
Day 2: 15. January 2014

Germ-free growing soil is very important in order to avoid damage to the seed from fungi and pests
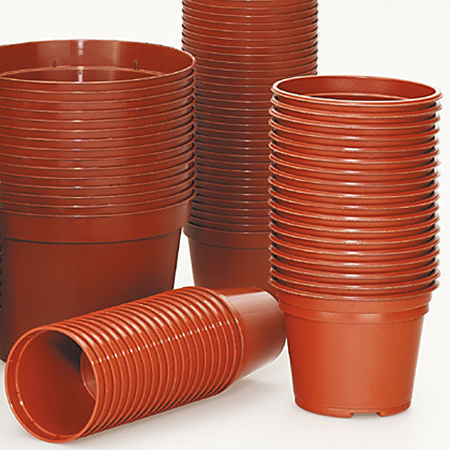
Use suitable pots made from plastic or peat
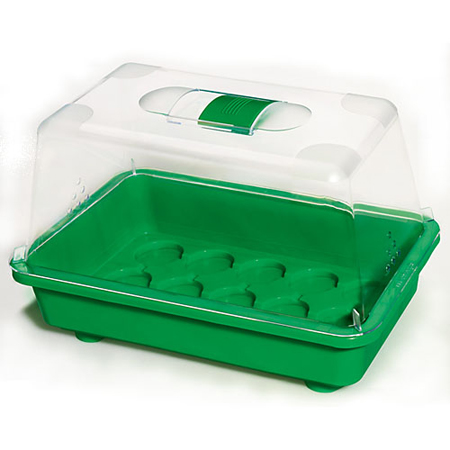
A mini greenhouse keeps temperature and humidity within the desired range
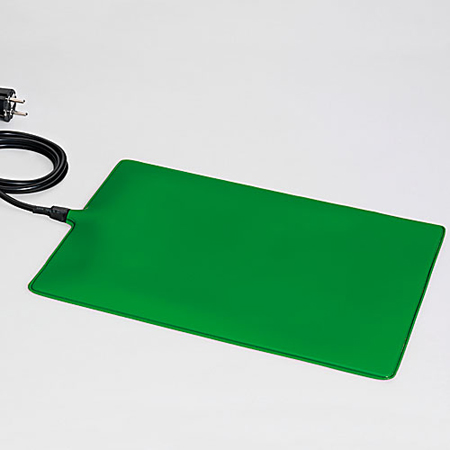
A heating mat ensures the optimal germination temperature
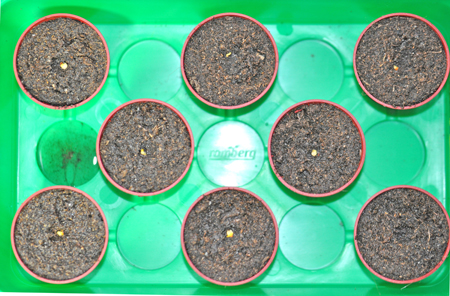
The fluffy growing soil is pressed firmly into the pots and a little water is poured over it several times. The chili seeds are placed in approximately 0.5cm deep wells and covered with soil. Chilies germinate in the dark.
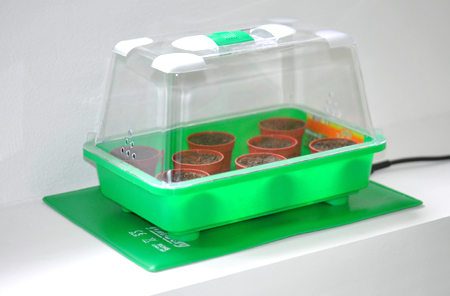
Put the mini greenhouse in a warm place, e.g. on a windowsill over a heater. Important: Ensure that it is not too moist, and open a small gap for ventilation.
Day 7: January 21, 2014
All the Corno di Toro Rosso Chili seedlings have appeared only 6 days after planting. One seed of the Corno di Toro Giallo Chili has germinated. All other varieties remain undercover, which is normal after such a short time.
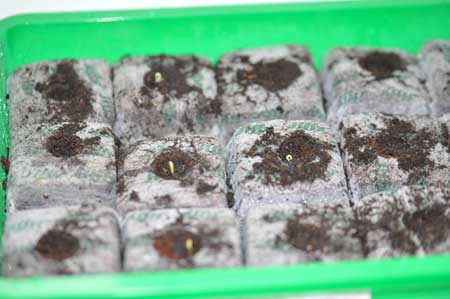
This year we have also used a couple of Jiffy Coconut pots, filling the large holes in the middle with Romberg potting soil. The cultivation conditions are identical to the small plastic pots filled with potting soil.
Day 8: January 22, 2014
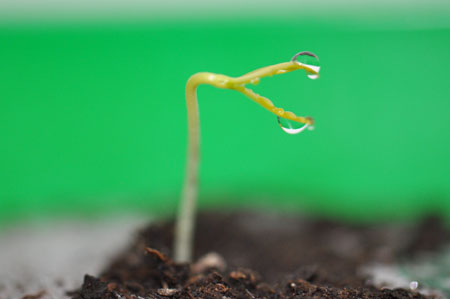
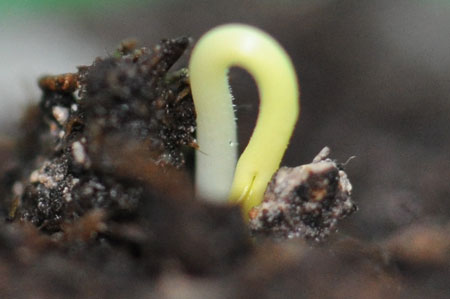
One week after sowing, all the Corno di Toro Giallo chilies can be seen. The Anaheim, Friggitello and Californian Wonder plants are close to a breakthrough. The image shows a 2cm large Corno di Toro Rosso, which has shown remarkable growth since yesterday.
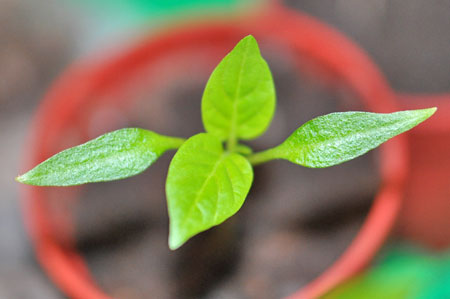
Day 9: January 23, 2014
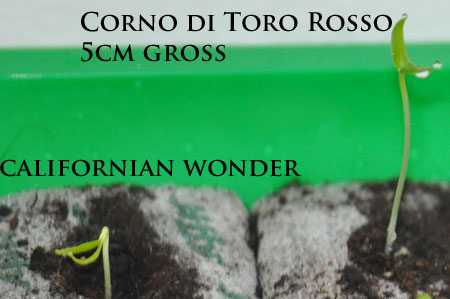
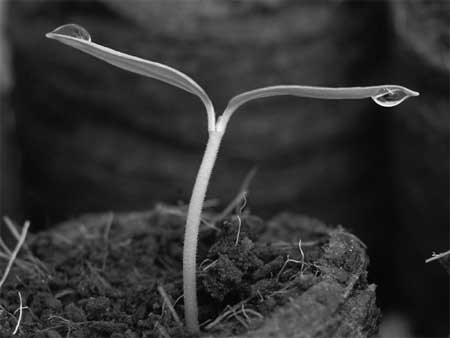
The Corno di Toro Rosso Chili has amazed us again. Since yesterday it has straightened up and taken on a full green colour. Now it already measures 5 cm. The Californian Wonder Chili (left) is also thriving. Now we’re just missing 2x Anaheim and 1x Californian Wonder, otherwise all the seeds have germinated. With this germination rate we will probably equip more mini greenhouses with these varieties. A beautiful chili plant is a great gift.
Day 21: 4. February 2014
A black day for chili cultivation. 3 plants unfortunately met their end, after our daughter (1-5 years old), decided to play chili-gardener. The remaining plants are doing well. The plants are in mini greenhouses at the window without heating mats at a temperature of approx. 20°C. Without an extra warmth source they are growing slowly but steadily. The later planted seeds that we intend to give away as gifts have now germinated, and can replace the failed ones at a pinch.
This reminds me of one of our customers, whose child wanted to spray the whole chili cultivation (there were a lot of plants) with the water sprayer, just like Papa. Early practice makes perfect. Unfortunately, it was actually window cleaner, and all the plants died.
Day 35: 18. February 2014
We have had little sun over the past 14 days, and our chili plants have therefore only grown a little. The first real leaf pair can clearly be seen. The plants are still in a mini greenhouse without a heating mat at a big window. We are intentionally not using daylight lamps, as we wish to create similar conditions to those of most hobby breeders.
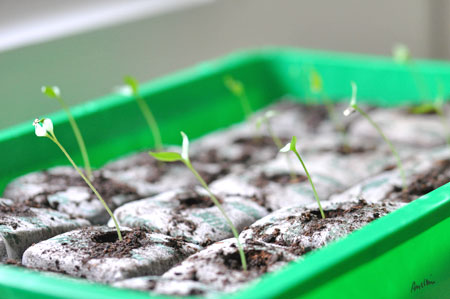
The replacement cultivation (planted 2 weeks later) to give away / to replace failures, is already looking good. Other than one Anaheim, everything has germinated.
Day 40: 23. February 2014
The last sunny days have caused increased growth in the small chili plants. Today we built a polytunnel, 2 m x 2 m x 3.5 m (HxWxL), as this year the chilies are going to be grown outdoors in the garden instead of in pots. The place for the chilies is sheltered, but doesn’t receive maximum sunlight. For this reason, we wanted to support their growth with a polytunnel. If the spring continues the way it is going, the chili plants can go into the polytunnel in April.
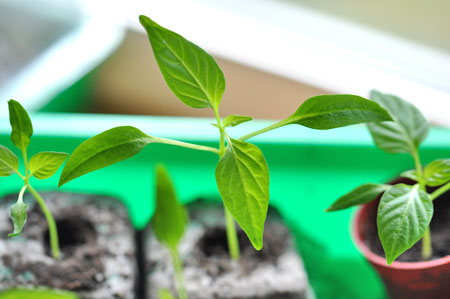
Day 54: March 9, 2014

On Sunday we used the good weather to re-pot the chilies. For this you should use good plant soil which has been pre-fertilised. The chilies can be placed into the soil as far up as their seed leaves, as will they form further roots on the stem. We have chosen probably the most common method of cultivation used by hobby gardeners to illustrate this step more clearly. The seeds germinate approx. 0.5-1 cm deep in the coconut coir pellets, or in small cultivation pots. Hobby gardeners usually carry out the first re-planting too late - as we did. Until the first re-potting, chilies tend to “stalk” and the plants do not look particularly stable. The “stalking” is naturally strengthened due to lack of light.
In agriculture, the seeds are usually germinated in cultivation boxes with 1000 seeds in each, and after approx. 2-3 weeks (1-2 real leaf pairs) they are re-potted. As described above, they are buried up until the seed leaf pair, which gives the chilies significantly more stability and a better growth. The same process is even more important for tomatoes, as their stems are much more unstable.
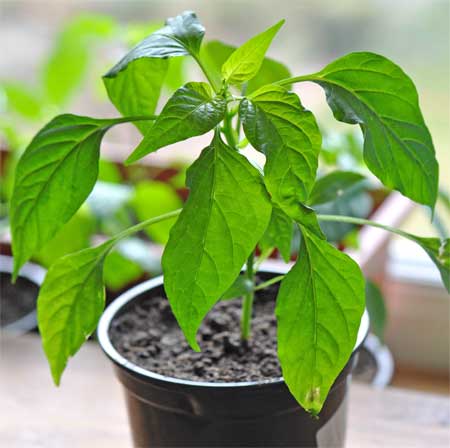
Day 68: March 23, 2014
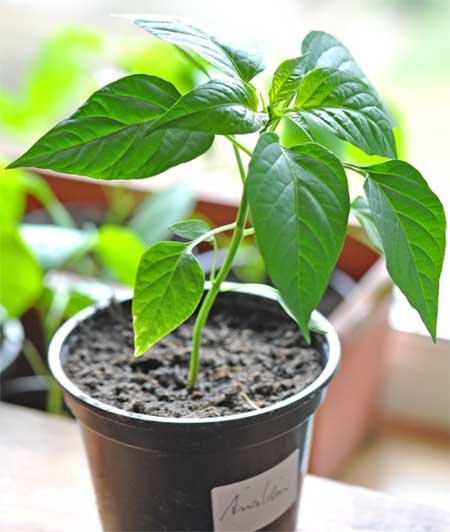
This Anaheim chili plant was rather weak at the beginning, but has now grown properly. In all the pots (approximately 10cm x 10cm) there are already roots showing at the bottom. If the weather remains this mild and sunny, 2014 will be a very good year for the chilies. For safety reasons and due to the bad previous year, we decided to use a small poly greenhouse this year. As always, when you have an umbrella with you, it definitely won’t rain
The Corno di Torro Giallo is growing in a stable and rapid manner. It won’t be long until we start the re-potting process.
The first flowers are forming on the Corno di Torro Giallo. When no or only slight night frosts are to be expected, the chilies will be moved outdoors into a poly greenhouse. We planted surplus tomato plants in a small indoor greenhouse and put them outside. If the small and delicate tomatoes survive the next few nights, we will have the green light to put the chilies outside too.
Day 80: 4. April 2014

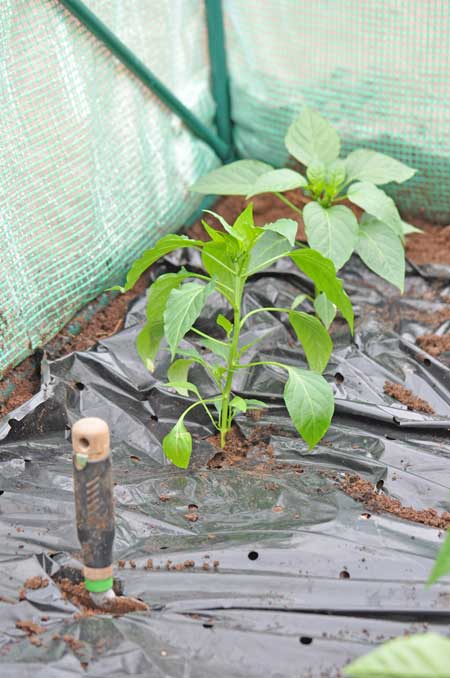
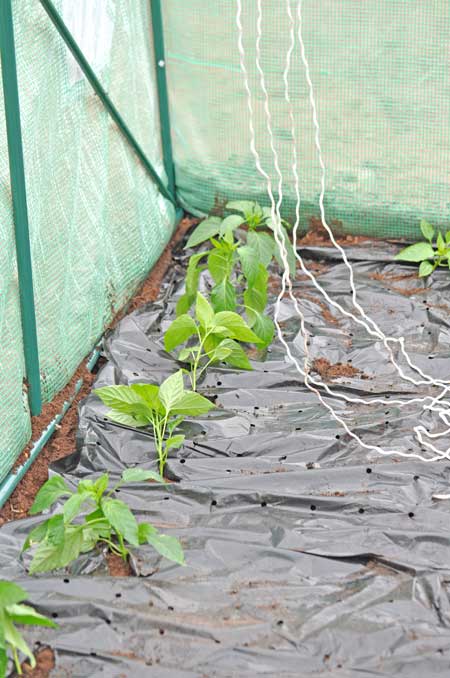
The big day has arrived - the chili plants are moving into the polytunnel. This time last year the weather was too cold and rainy to put the plants outside. However, the surplus tomato plants in an indoor greenhouse survived the last 2 weeks outside, so the chilies can be placed in the polytunnel (see cold test above). The plants are approx. 20cm high and are already forming flowers, so it is the right time.

The chili plants are looking strong and healthy. Don’t be envious, since the mild varieties this year (Friggitello, Corno di Toro Rosso, Corno di Toro Giallo, Anaheim, Californian Wonder) are growing significantly faster than, for example, a Habanero Chili.
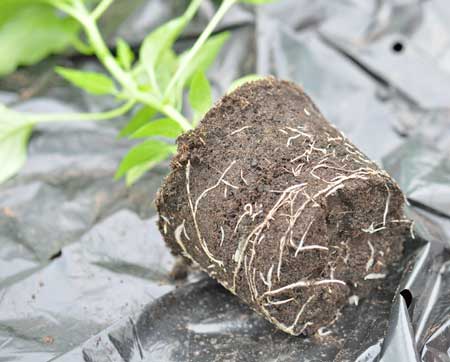
When can you re-pot chilies? It’s simple - when the pot is well-rooted and you can remove the root bales without any problems. Don’t water the plants before re-potting, so that the root bales come out of the pot more easily.
Preparing the polytunnel: The soil consists largely of sandy forest floor, which is good with respect to water permeability. Chilies do not tolerate waterlogging! The polytunnel stands on the edge of the Palatinate Forest on the German Wine Route, which is characterised by red sandstone. However, with regard to nutritional content, the forest floor is rather suboptimal. A year of compost on this area, however, has made the sandy forest soil optimal for growing chilies - permeable and rich in nutrients. After installing the polytunnel, the soil is well-raked and fertilised with horn shavings. We then placed a black mulch film with small holes on the ground. Mulch film has many advantages when cultivating chilies and tomatoes. No weeds grow, the soil loses little moisture and the soil structure remains loose. In parallel, the soil becomes significantly warmer due to the black film, which is reflected in better growth and increased nutrient uptake. At the end of the day, this increases the yield and reduces the maintenance effort, which is not insignificant for hobby gardeners. Water is poured over small pots that are buried between the plants up to the brim (opening upwards). Chilies and tomatoes are nightshades, and do not like being watered from above. With a small hand shovel, a cross slit is made into the film and a small hole is dug. The chili plants are then put carefully into the hole and pressed down firmly.
If you are using a polytunnel, you will not need any stakes as climbing aids or to stabilise the plants. Over each plant cords are attached, which are either fixed with a small stick in the ground or attached to the stem of the plant with a loose knot. The latter, however, can only be done in a few weeks time when the plants are slightly larger. You can also attach the cords to a metal or wooden rod, which lies on the floor next to the chili plants.
Day 100: 24. April 2014
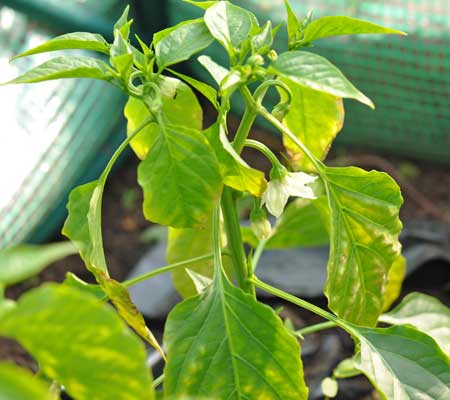
The mild weather and the use of a polytunnel incl. black mulch film have allowed the chilies to grow well. One Corno di Toro Rosso has already produced some flowers, so it’s now a good time to leave the polytunnel open frequently so that insects can pollinate the flowers. Incidentally, bumblebees are the preferred pollinators in polytunnels and greenhouses. Compared to bees, they are more hard-working in terms of pollination, they are loyal to the location and can fly at lower temperatures.
The chilies have grown well and have reached a height of 20-30cm. On hot days the tunnel has to be ventilated or else the edges of some of the leaves may burn, as shown in the pictures. This is not too bad in itself, but should not be allowed to get out of hand. On a sunny day, it is normal to experience temperatures of over 40°C and very high levels of humidity inside a closed polytunnel. The plants are soon strong enough to secure them to climbing aids (white cords).
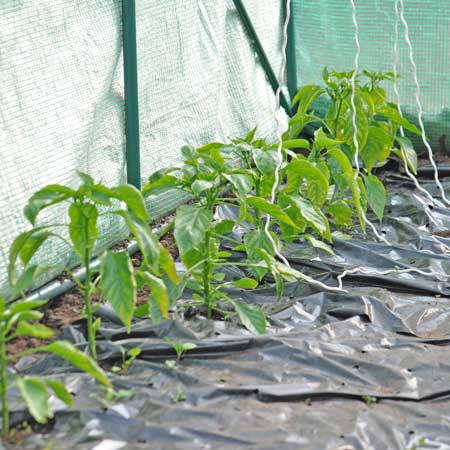
Day 118: May 12th 2014
The chilies are growing really quickly and are forming a great number of blossoms. By now they have reached a size of 30cm or more. The best thing about the polytunnel is that it eliminates any worries about the heavy winds or rains we’ve had recently. So staking the chili plants can wait. Even with this very changeable weather, a few beams of sunshine are all it takes to quickly heat up the polytunnel. At the same time, air humidity inside is at 100% as the windows are still closed at the moment. The high levels of humidity are not ideal, however as long as the chili plants continue to grow and appear to be healthy, this compromise is not a problem for us. In a few weeks it will be possible to have continuous ventilation.
Day 160: June 23rd 2014
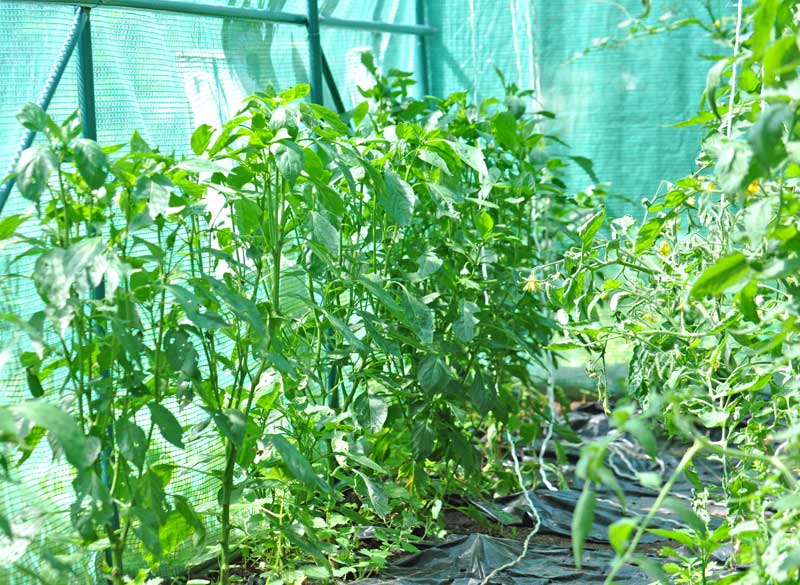
The chili growing journal has been somewhat neglected over the last few weeks. By now, the chili plants are around 70-80cm tall and lots of blossoms are starting to develop. Unfortunately, there are hardly any chili peppers to be seen. A few weeks ago, many blossoms fell victim to snails, but systematic collection and the dry weather have solved the problem without having to resort to slug pellets. With disposable gloves it’s easy to pick up the snails and collect them in a bucket. Then I take them to an abandoned property nearby where a hedgehog lives. Just 2 plants are bearing chilies at the moment, but the others should be able to make up for this delay quickly. Space is at a premium in the polytunnel as the tomato and cucumber plants have almost reached 2 metres in size.

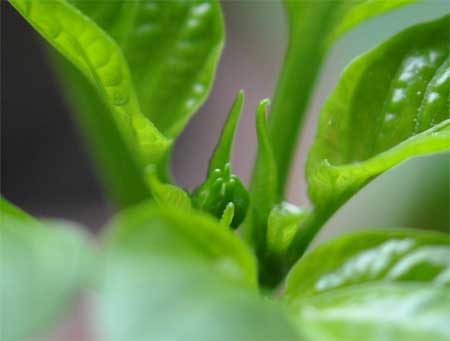
The picture shows the blossom of a Corno di Toro Giallo where the chili can already be seen emerging. For weeks, the greenhouse has been kept open on one side so that all kinds of insects can pollinate the chilies.
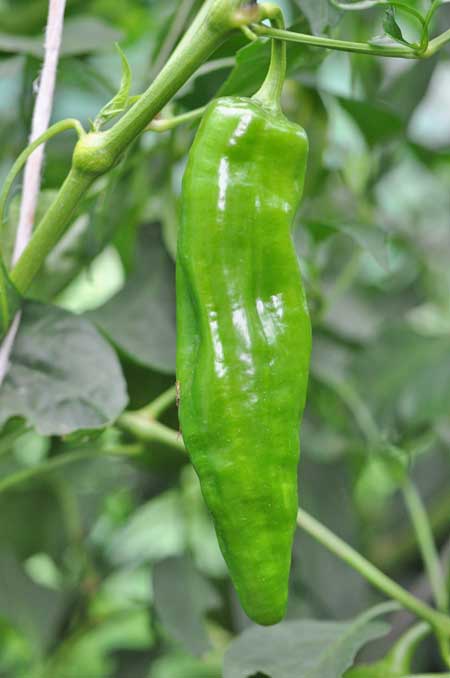
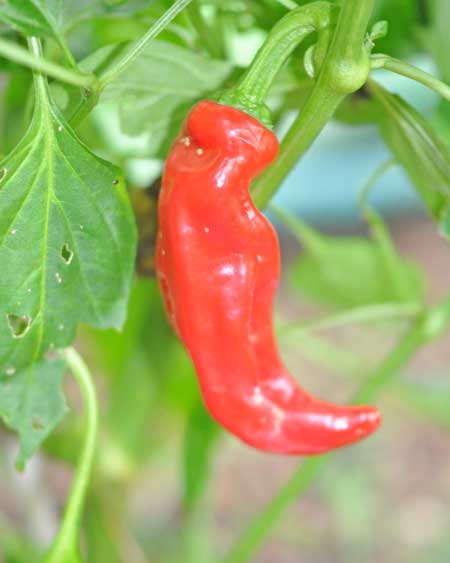
These peppers of a Corno di Toro Rosso plant have been spared from the snails and already measure 10cm in length. We don’t have to worry about the other plants as the polytunnel means that the season is extended to October and this year’s mild chili varieties have short maturation periods anyway.
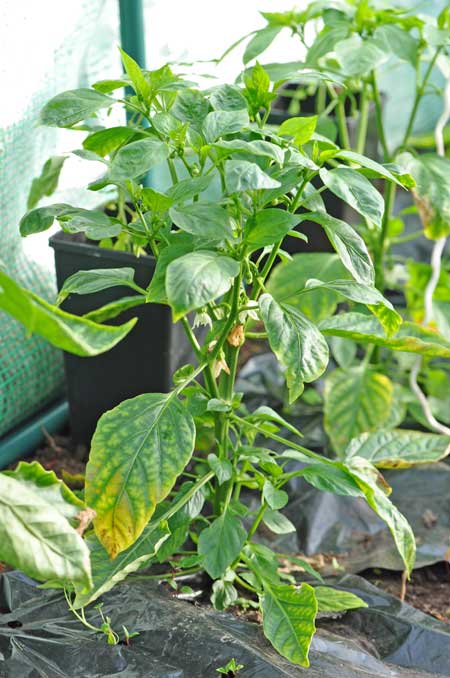
Day 202: August 4th 2014
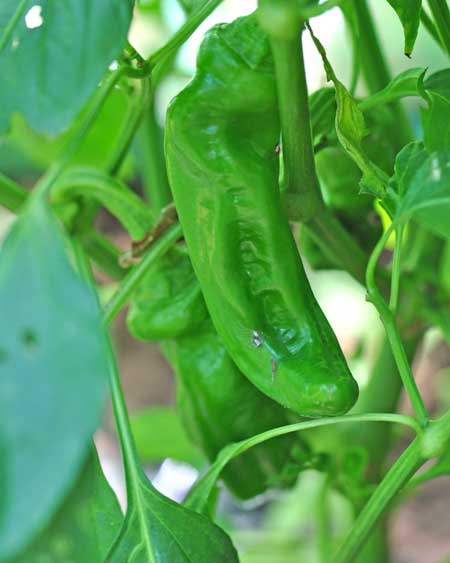
Due to the holidays, the greenhouse is looking a little wild and we first have to plough our way through. The chilies have shot up in the last few weeks and quite a number of chili peppers can now be seen. The individual plants are sagging quite a lot due to the weight of the relatively heavy fruits. As plants grow larger in greenhouses, they have to be tied up more securely and given more support. The picture shows a friggitello chili, which still has a little way to go before it is fully ripe. We didn’t like to taste of them whilst still in their green state, a somewhat bitter, unripe flavour. So we’ll just wait until they turn red.
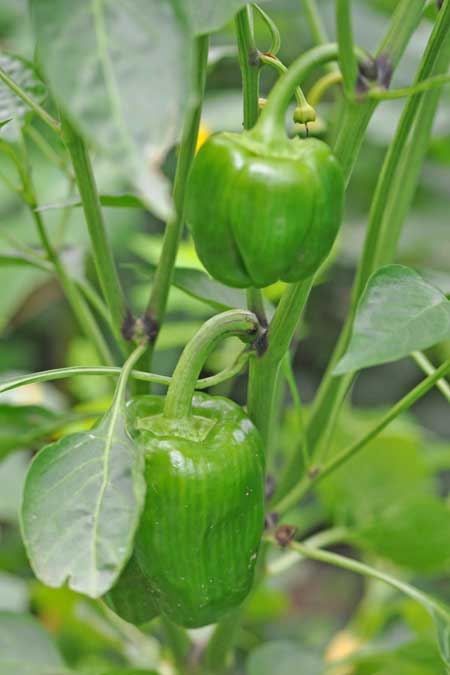
The Californian Wonder chilies aren’t growing very well in the greenhouse and I suspect that this variety has once again been afflicted by the snails. The picture is of one of the surplus plants, which we planted in the vegetable patch outside. The plant is a bit smaller, but is very strong and has developed large peppers.
Two smaller Anaheim chilies have already ripened red and we ate them straight away. Crunchy and full of flavour without the typical sweetness of red bell peppers.
Day 259: September 30th 2014
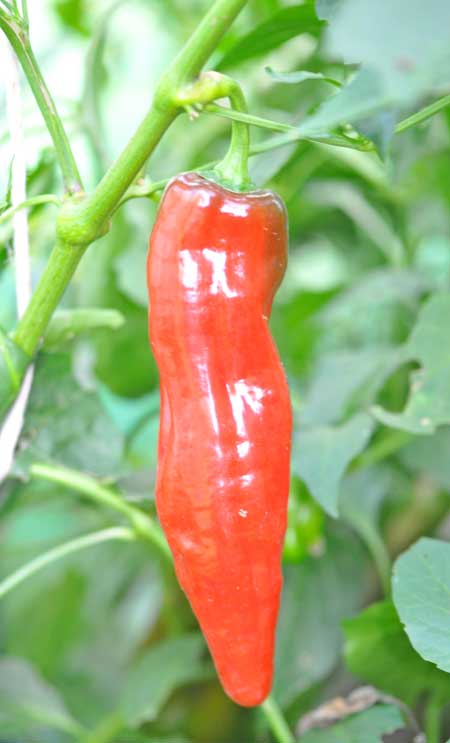
The last chilies have been harvested. The picture shows a Corno di Toro Rosso chili, whose 20cm length makes it perfect for stuffing or using in salads.
The Anaheim chilies are smaller than expected at just 12cm long. They have a very fresh flavour, they are crunchy, aromatic and not too sweet. We ate many of them just as they were straight after harvesting.
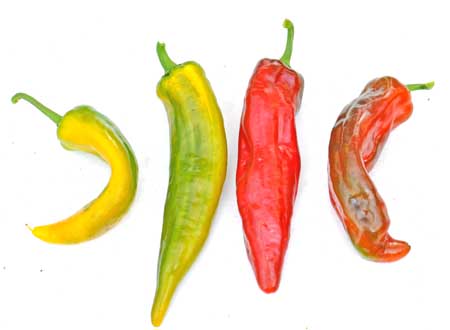
Due to the lack of space, it was difficult to take photos inside the polytunnel so here’s a picture of the Corno di Toro Giallo and Rosso chilies that we harvested. A really stunning flavour. It’s a shame that these mild chili varieties are not usually available commercially.
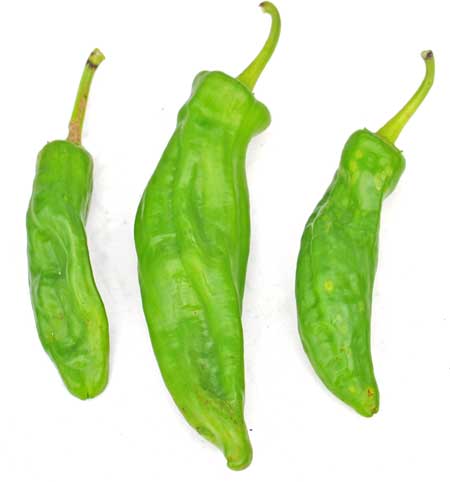
The frigitello chilies were fried in olive oil until they developed blisters and then served whilst still warm with a little coarse sea salt sprinkled on top and a slice of baguette on the side – a really delicious light evening meal. Despite their green colour, the friggitello chilies are not bitter unlike many other types of chili.
A perfectly cultivated Trinidad Scorpion Butch T, just before it fully ripens and turns red. Hot as hell!
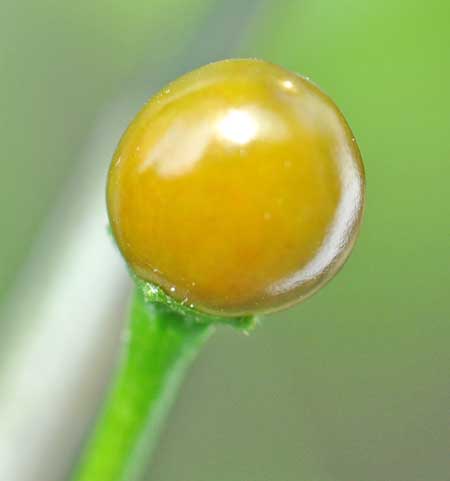
After my four year old tepin chili plant went to the big allotment in the sky last year, I am once again the happy owner of a beautiful plant. In spite of a lack of care, the plant has grown very well and has already started to form several dozen chilies with a diameter of around 6-7mm. The tepin chili is still my favourite variety of chili.
Conclusion: To begin with, all aspects of the polytunnel project were really very positive. However, I must confess that I am not fully satisfied with the growth and yield of the plants. On the one hand, this can be attributed to a glut of snails, but on the other hand it is due to the fast, but unstable growth of the chili plants. I much prefer some of the reference plants that were grown outside. The yield of outdoor plants is lower, but there is also much less work involved and, in my opinion, it is still more than sufficient. Next year, all of these mild varieties will be grown outdoors and new hot varieties will be grown in plant pots. I’ll keep the polytunnel up, but it will mainly be used for the initial propagation stage and for the transitional period.
Perhaps emotional factors also play a part in this, after all, what good are the most attractive chili plants to me, if I can’t see them every day? It’s not really possible to spend a long time inside the polytunnel due to the high temperatures and the lack of space.
Manufacturer
Name: | Chili-Food-Wissen |
Address: |


 Coconut potting soil 2.5 litres
  Californian Wonder Seeds


